TOP 5 BEST METHODS TO CONVERT M4A FILES TO WAV FOR FREE
Introduction
What exactly is M4A? M4A files are lossy Advanced Audio Coding (AAC) or Apple Lossless Audio Codec (ALAC) encoded, which aim to minimize the size of the file significantly. However, M4A is only suitable for a few ranges of devices and systems, mostly those owned by Apple, such as iTunes, iPhone, iPad, iPod, and so on.
WAV files are unprocessed audio formats that were developed by Microsoft and IBM. Containers are used to store audio data, track numbers, sample rate, and bit rate. WAV files are uncompressed lossless music that can take up a lot of space, with a maximum file size of 4 GB and a bit rate of roughly 10 MB per minute.
The Resource Interchange File Format is used by WAV file formats to store audio in raw and often uncompressed “chunks” (RIFF). This is a standard method for Windows to store music and video files, such as AVI, although it can also be used for random data.
Changing M4A to WAV is a fantastic way to make it playable on more platforms and devices. And in this post, we’ll teach you how to use M4A to WAV converters in five different ways. Check them out right now.

Five of the best methods to convert M4A to WAV for free
Option 1: Converting M4A to WAV in Batch Using VideoProc
VideoProc is a very fast M4A to WAV audio converter and a sophisticated video converter that specializes in converting various types of media file formats. Audio and video recordings can be bulk converted in minutes or seconds with full GPU acceleration, with no drop in quality. It supports both common and sophisticated audio file formats, such as M4A, WMV, MP3, M4R, AAC, FLAC, OGG, and others. It also comes with a powerful audio/video editor and recorder.
Step 1: Begin by adding music files to the list.
Click Video + Music to insert M4A file(s) to the menu, or simply drag and drop the audio files into the centerboard.
Step 2: Begin the M4A to WAV conversion. After importing all M4A files, select Music in the Target Format section. Then select WAV as the format.
Step 3: Start the converting procedure. Select Browse to specify an output location for the created WAV file (s). Then, whether you want to convert M4A to WAV in batch or not, select RUN.
Option 2: Converting M4A to WAV in Audacity
Audacity is a free and open-source audio editor that allows you to convert M4A to WAV on Windows, Mac, and Linux. But even before you begin, you must first install the FFmpeg Library. This library allows Audacity to import and export a far broader spectrum of audio formats, including M4A.
Step 1: Download the FFmpeg installation file by clicking here. Normally, if you have FFmpeg installed on your machine, Audacity will recognize the library and you will not need to do anything further.
Launch Audacity, go to the toolbar, choose Edit then Preferences, pick Libraries in the pop-up dialogue box, then push the Locate button to physically identify the library.
Worth noting: Some of you may wish to install the LAME MP3 library on your machine as well. Downloading the FFmpeg library follows a similar procedure.
Restart Audacity in step two. Select the M4A file(s) you want to convert from File, click Open.
Step 3: Select Export, then WAV from the File menu bar.
Step 4: Make the output file folder in a convenient location.
Step 5: To save your changes, select OK from the drop-down menu. To start the conversion process, press OK on the pop-up Edit Metadata panel again.
Option 3: Converting M4A to WAV in VLC
Although VLC is mostly used as a media player, it may also be used to convert M4A to WAV. And here are the full instructions.
Step 1: Download VLC on your machine, then go to the Media tab and select Convert / Save.
Step 2: In the new tab, click the +Add button to locate and import the M4A file. Next, select the Convert / Save button once again.
Step 3: On the new panel, choose the Create a new profile option, which is adjacent to the red X. It will take you to a site with further video and audio format options.
Step 4: Type WAV in the Profile Name box on the pop-up screen. Then you choose Encapsulation, followed by WAV. After that, select WAV as the audio codec by pressing Audio codec, then Audio choice box. Modify the audio sampling frequency to 44100Hz if necessary. After that, you press Save to return to the original page.
Step 5: From the drop-down menu, choose WAV. After that, you select the desired path and press the Start button.
Option 4: Converting M4A to WAV on iTunes
Apple iTunes may also be used to convert M4A to WAV. It is the default program on Mac, but Windows users can also use it. Follow the instructions below to learn how to use it and get the job done.
Step 1: Open iTunes and select Preferences from the Edit menu. Navigate to General and then Import Settings.
Step 2: Choose WAV Encoder from the Import Using drop-down box. Click OK to save the change. You may now convert the M4A file to WAV format. Continue your exploration.
Step 3: If the M4A file seems to be in your iTunes library, you can simply select File, then Convert, then Create WAV Version, and a new WAV version of this File will appear in your iTunes library. Alternatively, if the M4A files are not in your iTunes library, the procedure will be distinctive.
Click File, then Convert, then Convert to WAV while holding down the Shift key on your keyboard. It would then prompt you to find and import the M4A files. Simply select the files and press the Open button. They’ll be converted to WAV format and shown in iTunes’ library.
Step 4: Now all you have to do is go to the library folder and look for the converted files.
If you don’t know where it is? In iTunes, go to Edit, then Preferences, then Advanced, and you’ll see the folder path.
Option 5. Converting M4A to WAV Online
You could also use our audio converting tool, Safe Audio Converter. It is an online tool, which is completely free to use as well. Our highly responsive design generates the desired output in no time, and the tool has been created in such a way that anyone can use it.
You don’t have to be concerned because the complete process is happening in your browser and no files are sent to our servers. As a result, your files are completely safe. It is completely free and online, which means you can use it as often as you need to, without having to pay anything and without having to install anything. It can run on a variety of platforms, including Mac, Linux, Android, and iPhone, and it also works well in a variety of browsers. We don’t believe in sacrificing quality. We ensure that the file’s quality is preserved while converting M4A to WAV.
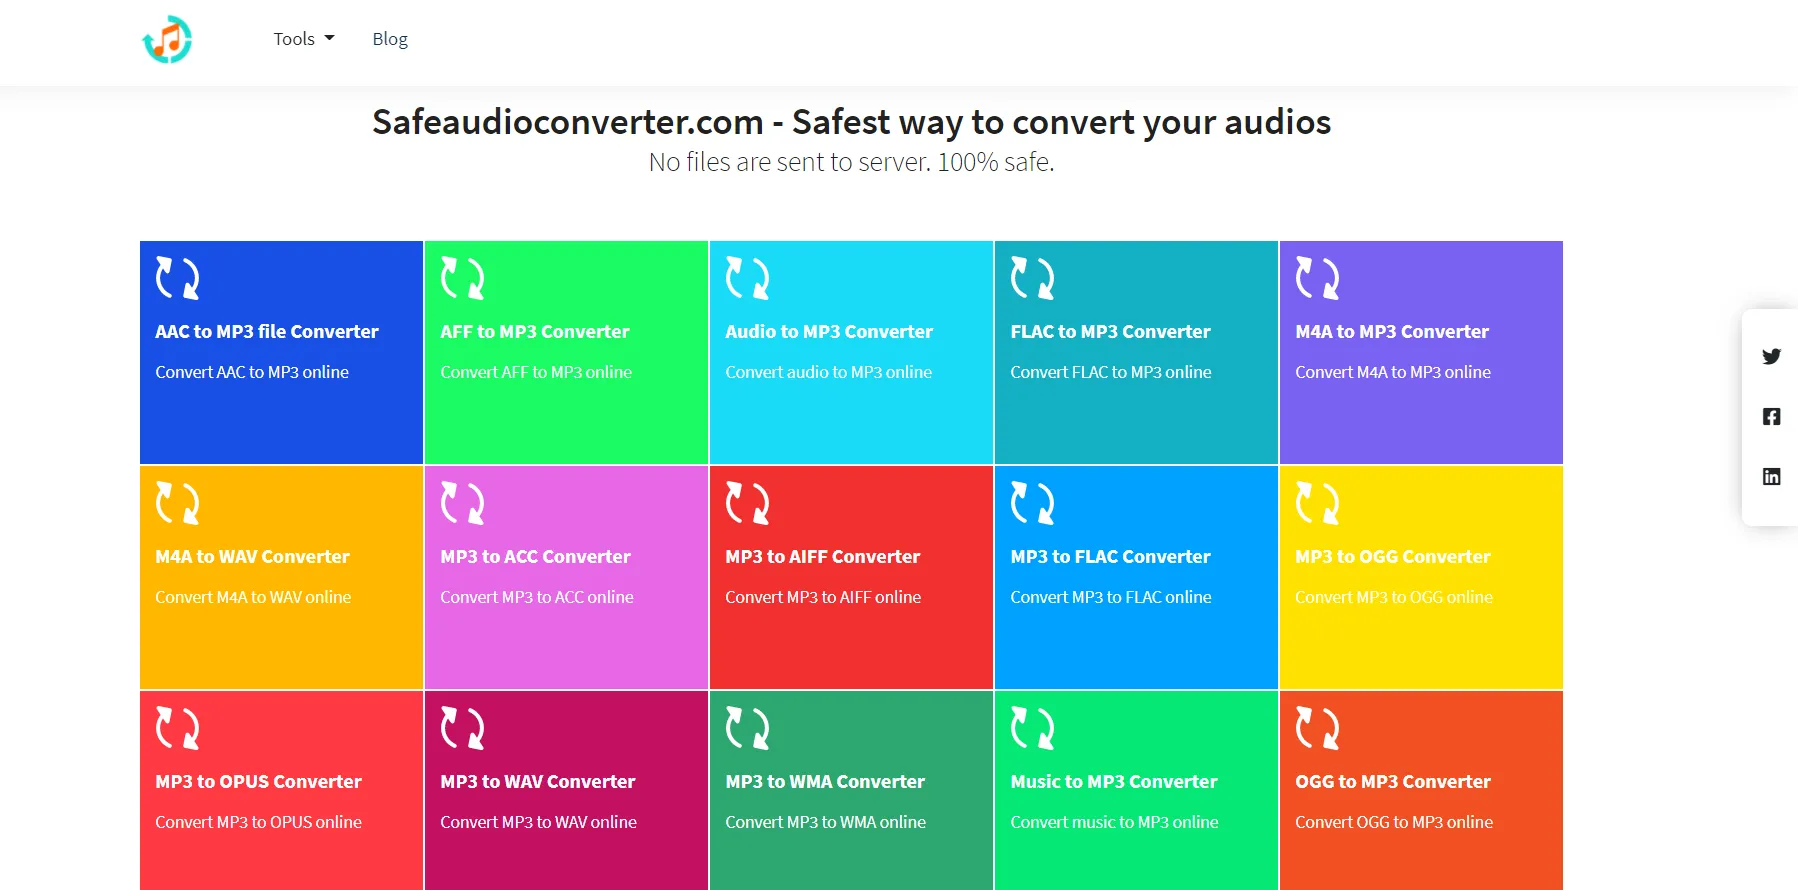
Using our tool is very simple. All you have to do is choose an audio file by clicking the “Choose Audio File” button or pick Dropbox/Google Drive from the drop-down menu. Select the audio track (M4A) from your device that you want to convert.
Place the audio file on the site. The audio track will be processed by our software in a few seconds.
The track will then be converted from M4A to WAV by our program.
A “Download” button displays on the screen once the conversion is complete. To save your content to your device automatically, click Download.
That’s all there is to it! You’ve completed your task.

